Digital vs Analog FPV Systems
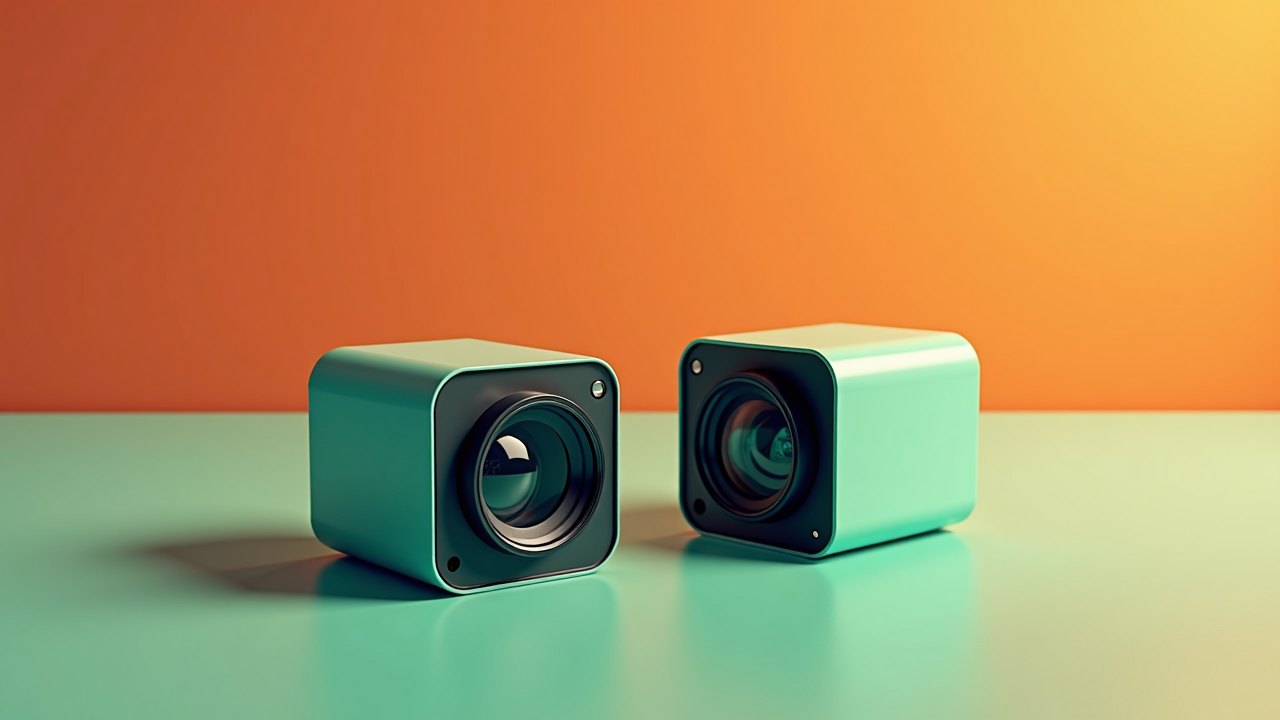
First-Person View (FPV) systems are the eyes of your drone, transmitting real-time video from your aircraft to your goggles or monitor. After flying both technologies for years across various environments, I can tell you that the choice between digital and analog FPV systems is one of the most significant decisions you'll make as an FPV pilot. This comprehensive guide explores both technologies based on my extensive hands-on experience, helping you determine which system best suits your flying style and budget.
Introduction to FPV Video Systems
FPV video systems consist of several key components that work together to transmit the video feed from your drone to your viewing device:
- Camera: Captures the video image
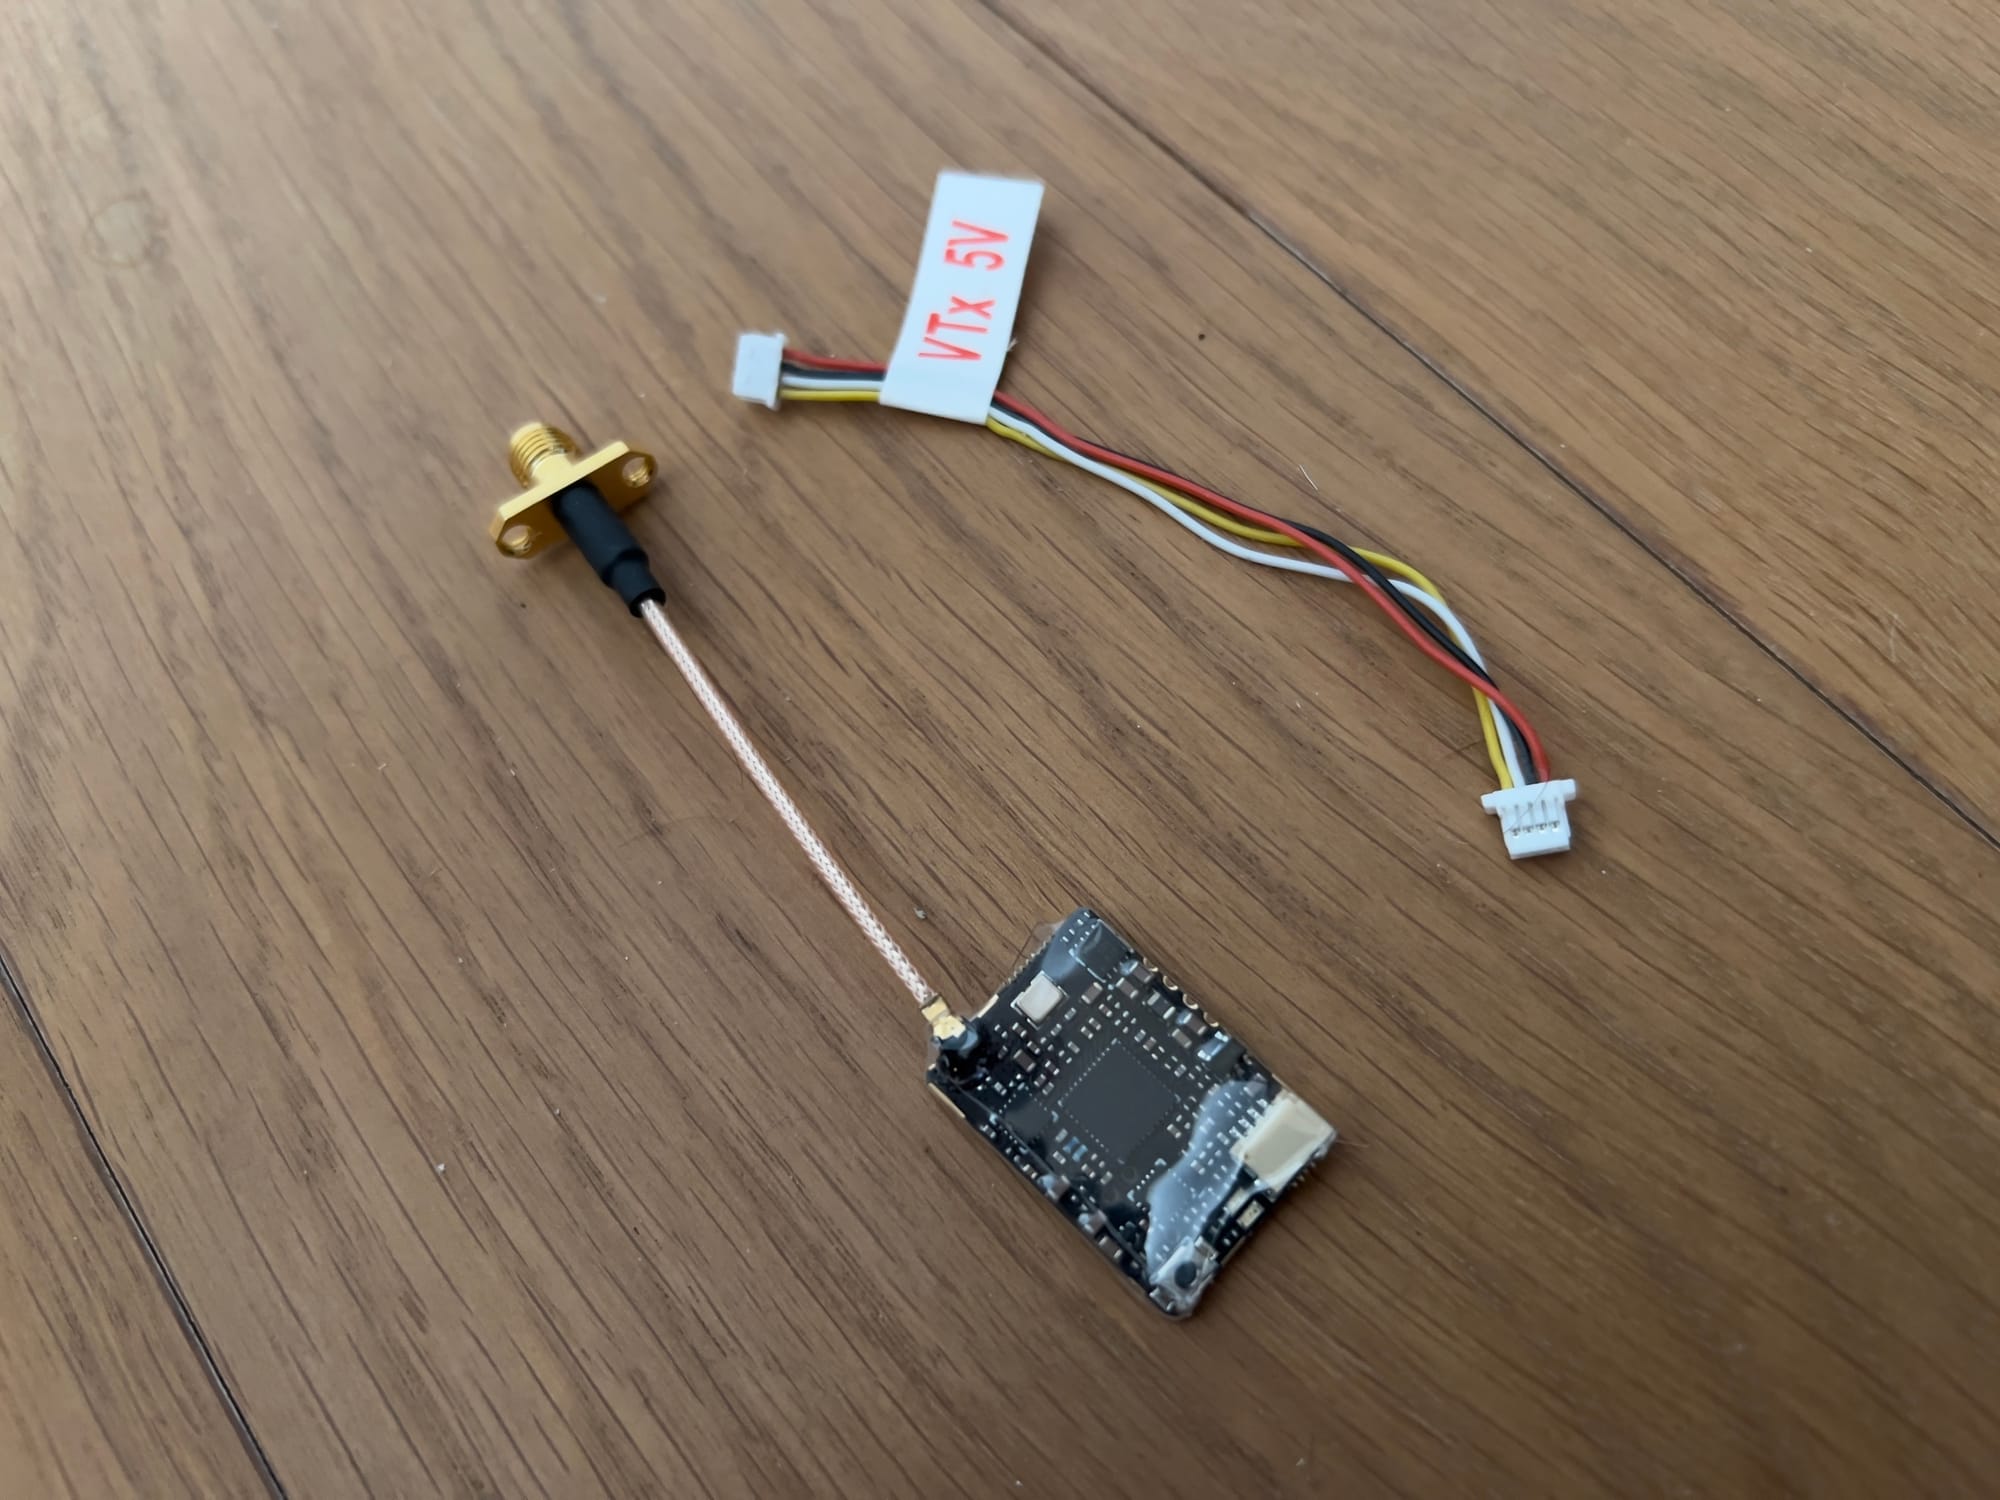
- Video Transmitter (VTX): Encodes and broadcasts the video signal
- Video Receiver (VRX): Receives and decodes the video signal
- Display: Goggles or monitor that shows the video feed
The fundamental difference between analog and digital systems lies in how they process and transmit this video data, and I've found this difference creates entirely different flying experiences.
The Basics of Analog FPV
Analog FPV systems transmit video as a continuous waveform signal. This technology has been the backbone of FPV flying since its inception and remains widely used today.
How Analog Works:
- The camera captures an analog video signal (typically in PAL or NTSC format)
- The video transmitter modulates this signal onto a radio frequency carrier wave
- The video receiver demodulates the received signal
- The display shows the resulting video feed
I've been flying analog systems since 2019, and one of their defining characteristics is how they degrade gradually with distance and interference, resulting in characteristic static, noise, and "snow" as signal quality decreases. This gradual degradation actually provides useful feedback about your signal strength and has saved many of my drones from being lost.
The Basics of Digital FPV
Digital FPV systems convert video into digital data packets before transmission. This fundamental difference creates a completely different user experience.
How Digital Works:
- The camera captures a digital video signal
- The video transmitter encodes this data, often with compression, and transmits it as digital packets
- The video receiver collects and decodes these packets
- The display shows the resulting video feed
I remember my first flight with a DJI digital system in 2021—it was a revelation. The crystal-clear HD image was stunning compared to my analog setup. However, I quickly learned that digital signals maintain perfect image quality until the signal degrades beyond a certain threshold, at which point the image may freeze, pixelate, or drop out entirely. This "cliff-edge" performance took some getting used to after years of analog's gradual degradation.
Comparing Analog and Digital FPV Systems
Image Quality
Analog:
- Resolution typically limited to standard definition (NTSC: 720×480, PAL: 720×576)
- Lower color accuracy and dynamic range
- Prone to interference, static, and noise
- Image degrades gradually with distance/interference
- Characteristic "analog look" that some pilots prefer for its responsiveness
Digital:
- HD resolutions available (720p, 1080p, or higher)
- Superior color reproduction and dynamic range
- Cleaner image with no static or noise
- Maintains perfect image quality until signal threshold is reached
- Some systems offer recording capabilities in the goggles
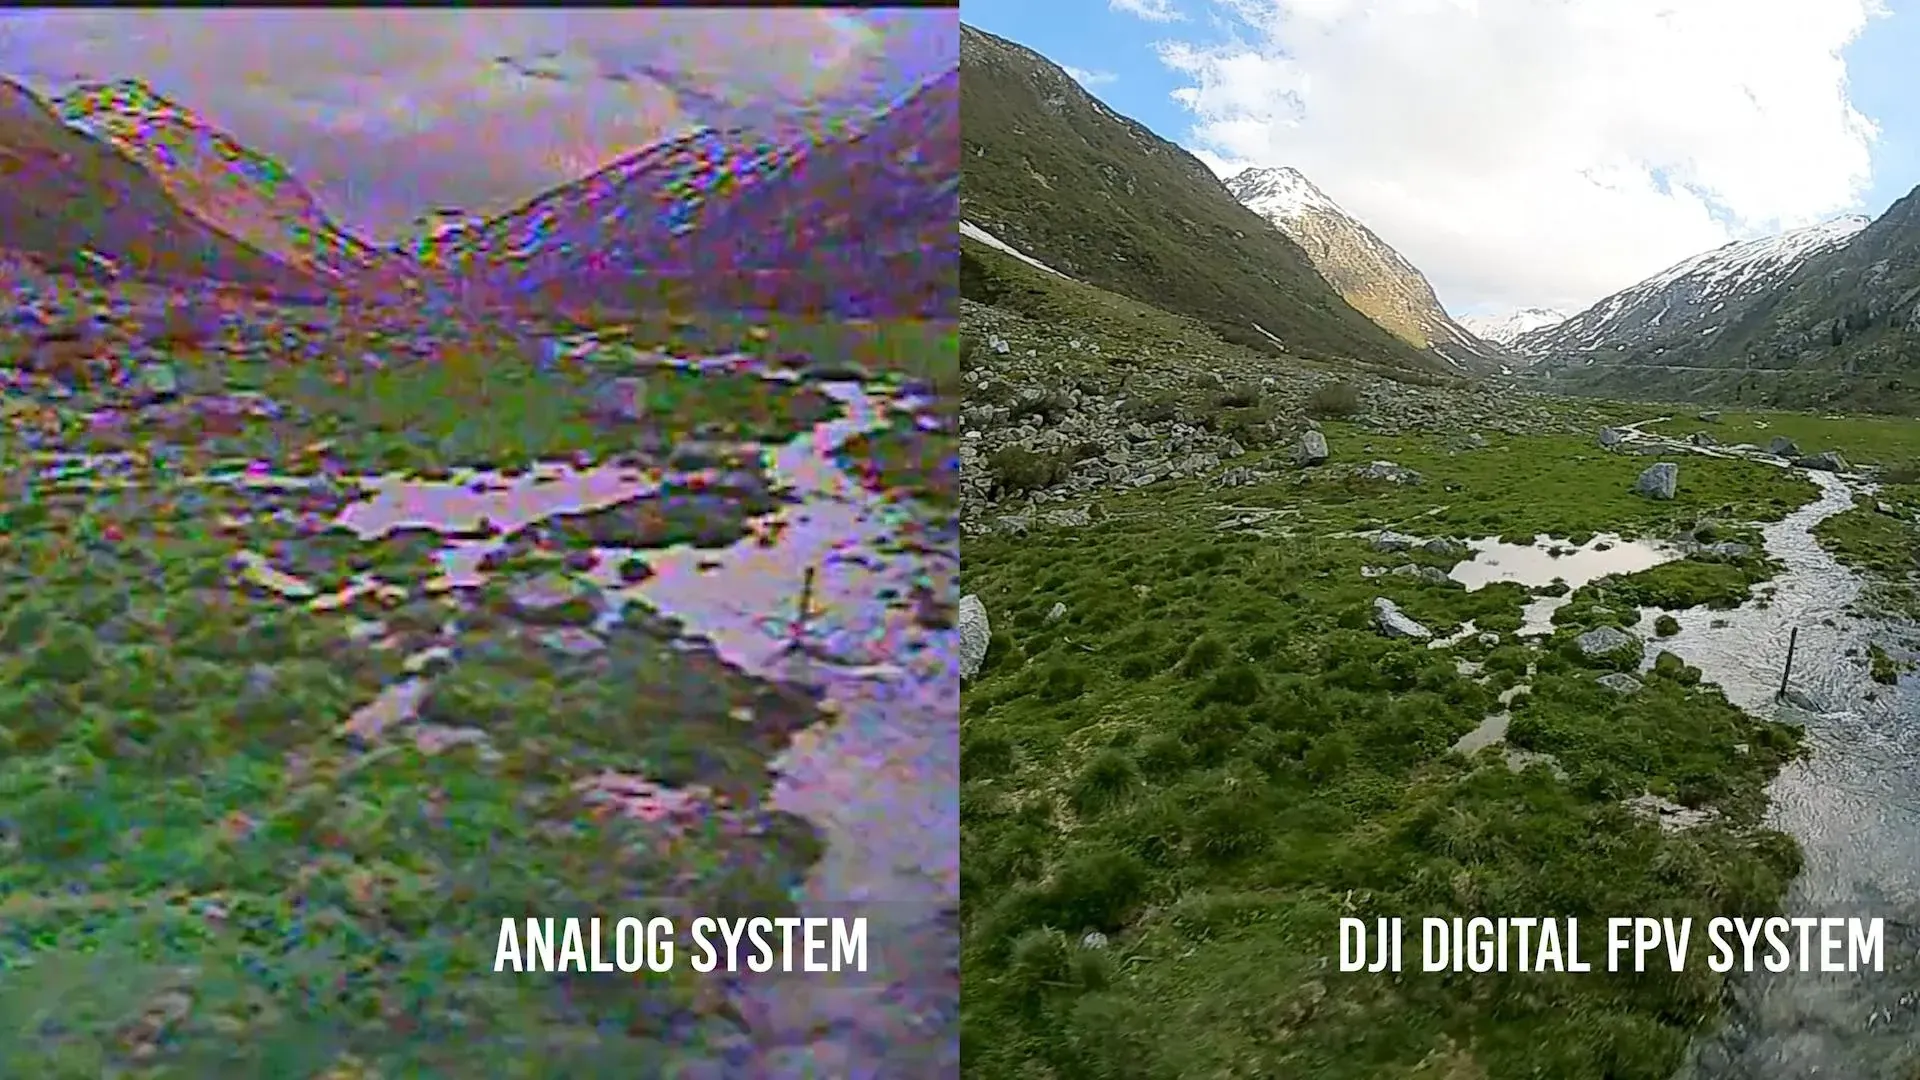
The difference in image quality is night and day. When I first switched to digital, I could suddenly see branches and obstacles that were just blurry shapes in analog. For freestyle and cinematic flying, this clarity is game-changing. However, I've found that the analog "noise" actually provides useful information about signal strength that I miss when flying digital. I've crashed more digital drones due to sudden video loss than analog ones, where the increasing static gave me warning to turn back.
Latency
Latency—the delay between what happens in front of the camera and what you see in your goggles—is critical for responsive flying.
Analog:
- Typically very low latency (15-40ms)
- Consistent latency regardless of signal strength
- Preferred for racing and high-speed freestyle where reaction time is critical
Digital:
- Historically higher latency (50-100ms+)
- Modern systems have improved significantly (30-50ms)
- May increase latency when signal is weak due to error correction
- Some systems offer low-latency modes with reduced image quality
I race primarily with analog systems because every millisecond counts when you're threading gates at 80mph. I've found that even the improved latency of modern digital systems (like HDZero) is still noticeable in high-speed racing scenarios. For freestyle and cinematic flying, however, the slightly higher latency of digital systems rarely impacts my performance. It's worth noting that I've measured the actual end-to-end latency of my systems using high-speed cameras, and manufacturer claims are often optimistic—especially for digital systems.
Range and Penetration
The ability to maintain a usable video feed at distance and through obstacles varies significantly between systems.
Analog:
- Generally good penetration through obstacles
- Gradual signal degradation allows flying beyond perfect reception
- Range can be extended with directional antennas and higher power VTXs
- More forgiving when signal is weak (still provides usable image with static)
Digital:
- Often better maximum range in open areas
- May struggle more with penetration through obstacles
- Sharp cutoff point when signal becomes too weak
- Some systems offer "rescue mode" with reduced quality to extend range
I've flown long-range missions with both technologies, and each has its strengths. With my optimized analog setup (using a 1W VTX and directional antennas), I've maintained usable signal at 7km in rural areas. My DJI system has achieved similar range but with a much clearer image up to the cutoff point.
The biggest difference I've found is in obstacle penetration. When flying behind buildings or through dense forest, my analog system degrades to heavy static but often maintains enough image to navigate, while my digital system tends to freeze or drop out completely. I've learned to be much more cautious about obstacles when flying digital.
Cost
The financial investment required for each system is a major consideration for many pilots.
Analog:
- More affordable entry point ($20-50 for camera, $20-60 for VTX)
- Budget-friendly goggles available ($50-150)
- Easier to replace individual components
- Wide range of compatible equipment from different manufacturers
Digital:
- Higher initial investment ($150-250 for camera/VTX combo)
- More expensive goggles ($300-700+)
- Often requires buying into a specific ecosystem
- May offer better long-term value due to superior experience
I started with analog because of the lower cost barrier, and I still recommend this path for beginners. When I crashed and damaged my first analog VTX, replacing it cost me just $25. When I damaged a DJI Air Unit in a similar crash, the replacement was $160. That said, I've found that the digital investment pays off in the long run through a more enjoyable flying experience and better footage if you're capturing video.
For pilots on a tight budget, I recommend starting with a quality analog system and upgrading to digital once you've developed your skills and are crashing less frequently.
Power Consumption
Battery life is precious on an FPV drone, making power efficiency important.
Analog:
- Generally lower power consumption
- Simple VTXs available with adjustable power levels
- Minimal processing requirements
Digital:
- Typically higher power consumption due to digital processing
- More complex cooling requirements
- May impact flight time more significantly
I've measured the actual power draw of various systems on my workbench, and digital systems consistently consume more power. On identical 5" freestyle builds, I typically see 1-1.5 minutes less flight time with digital systems compared to analog. This difference becomes more significant on smaller builds with limited battery capacity. On my 3" micro quad, switching from analog to HDZero reduced my flight time by nearly 20%. I've learned to compensate by carrying more batteries for my digital rigs.
Interference and Channel Management
How systems handle multiple pilots flying simultaneously is an important consideration for social flying.
Analog:
- Susceptible to interference from other pilots and RF sources
- Limited number of usable channels (especially in race settings)
- Interference appears as visible noise/static in the image
- Requires careful frequency management for group flying
Digital:
- Better rejection of interference from other sources
- More effective channel management for multiple pilots
- Some systems allow many more pilots to fly simultaneously
- When interference does occur, it typically causes pixelation or freezing
At race events, managing analog frequencies is a constant challenge. I've experienced numerous "frequency conflicts" where pilots accidentally select overlapping channels, resulting in unusable video for everyone involved. With digital systems (particularly DJI), I've found that many more pilots can fly simultaneously without issues.
I once attended a fly-in where 8 DJI pilots were flying without any coordination of channels, and everyone had perfect video. At the same event, the 6 analog pilots spent nearly an hour working out a frequency plan, and still experienced occasional interference. This difference alone makes digital compelling for group flying scenarios.
Popular Digital FPV Systems
Several digital FPV systems have emerged in recent years, each with unique characteristics and target audiences. I've personally tested all of these systems extensively.
DJI Digital FPV System
DJI revolutionized the digital FPV space with their system, which has evolved through several generations.
Key Features:
- High-quality 720p/1080p video transmission
- Relatively low latency (25-35ms in ideal conditions)
- Excellent range and penetration
- Integrated recording in goggles
- Closed ecosystem with limited third-party compatibility
Components:
- DJI FPV Air Unit or Vista/Caddx Vista (transmitter)
- DJI FPV Goggles V1/V2/Integra
- Compatible cameras (DJI FPV Camera or Caddx Polar)
Best For:
- Cinematic flying
- Long-range exploration
- Pilots prioritizing image quality
- Those willing to invest in a premium system
I've been flying DJI systems since their initial release, and the image quality still impresses me every time I put on the goggles. The range has been exceptional in my testing—I've maintained solid video links at distances over 10km in rural areas with line of sight. The biggest drawbacks I've encountered are the closed ecosystem (limiting camera and VTX options) and the occasional firmware update that changes features without warning.
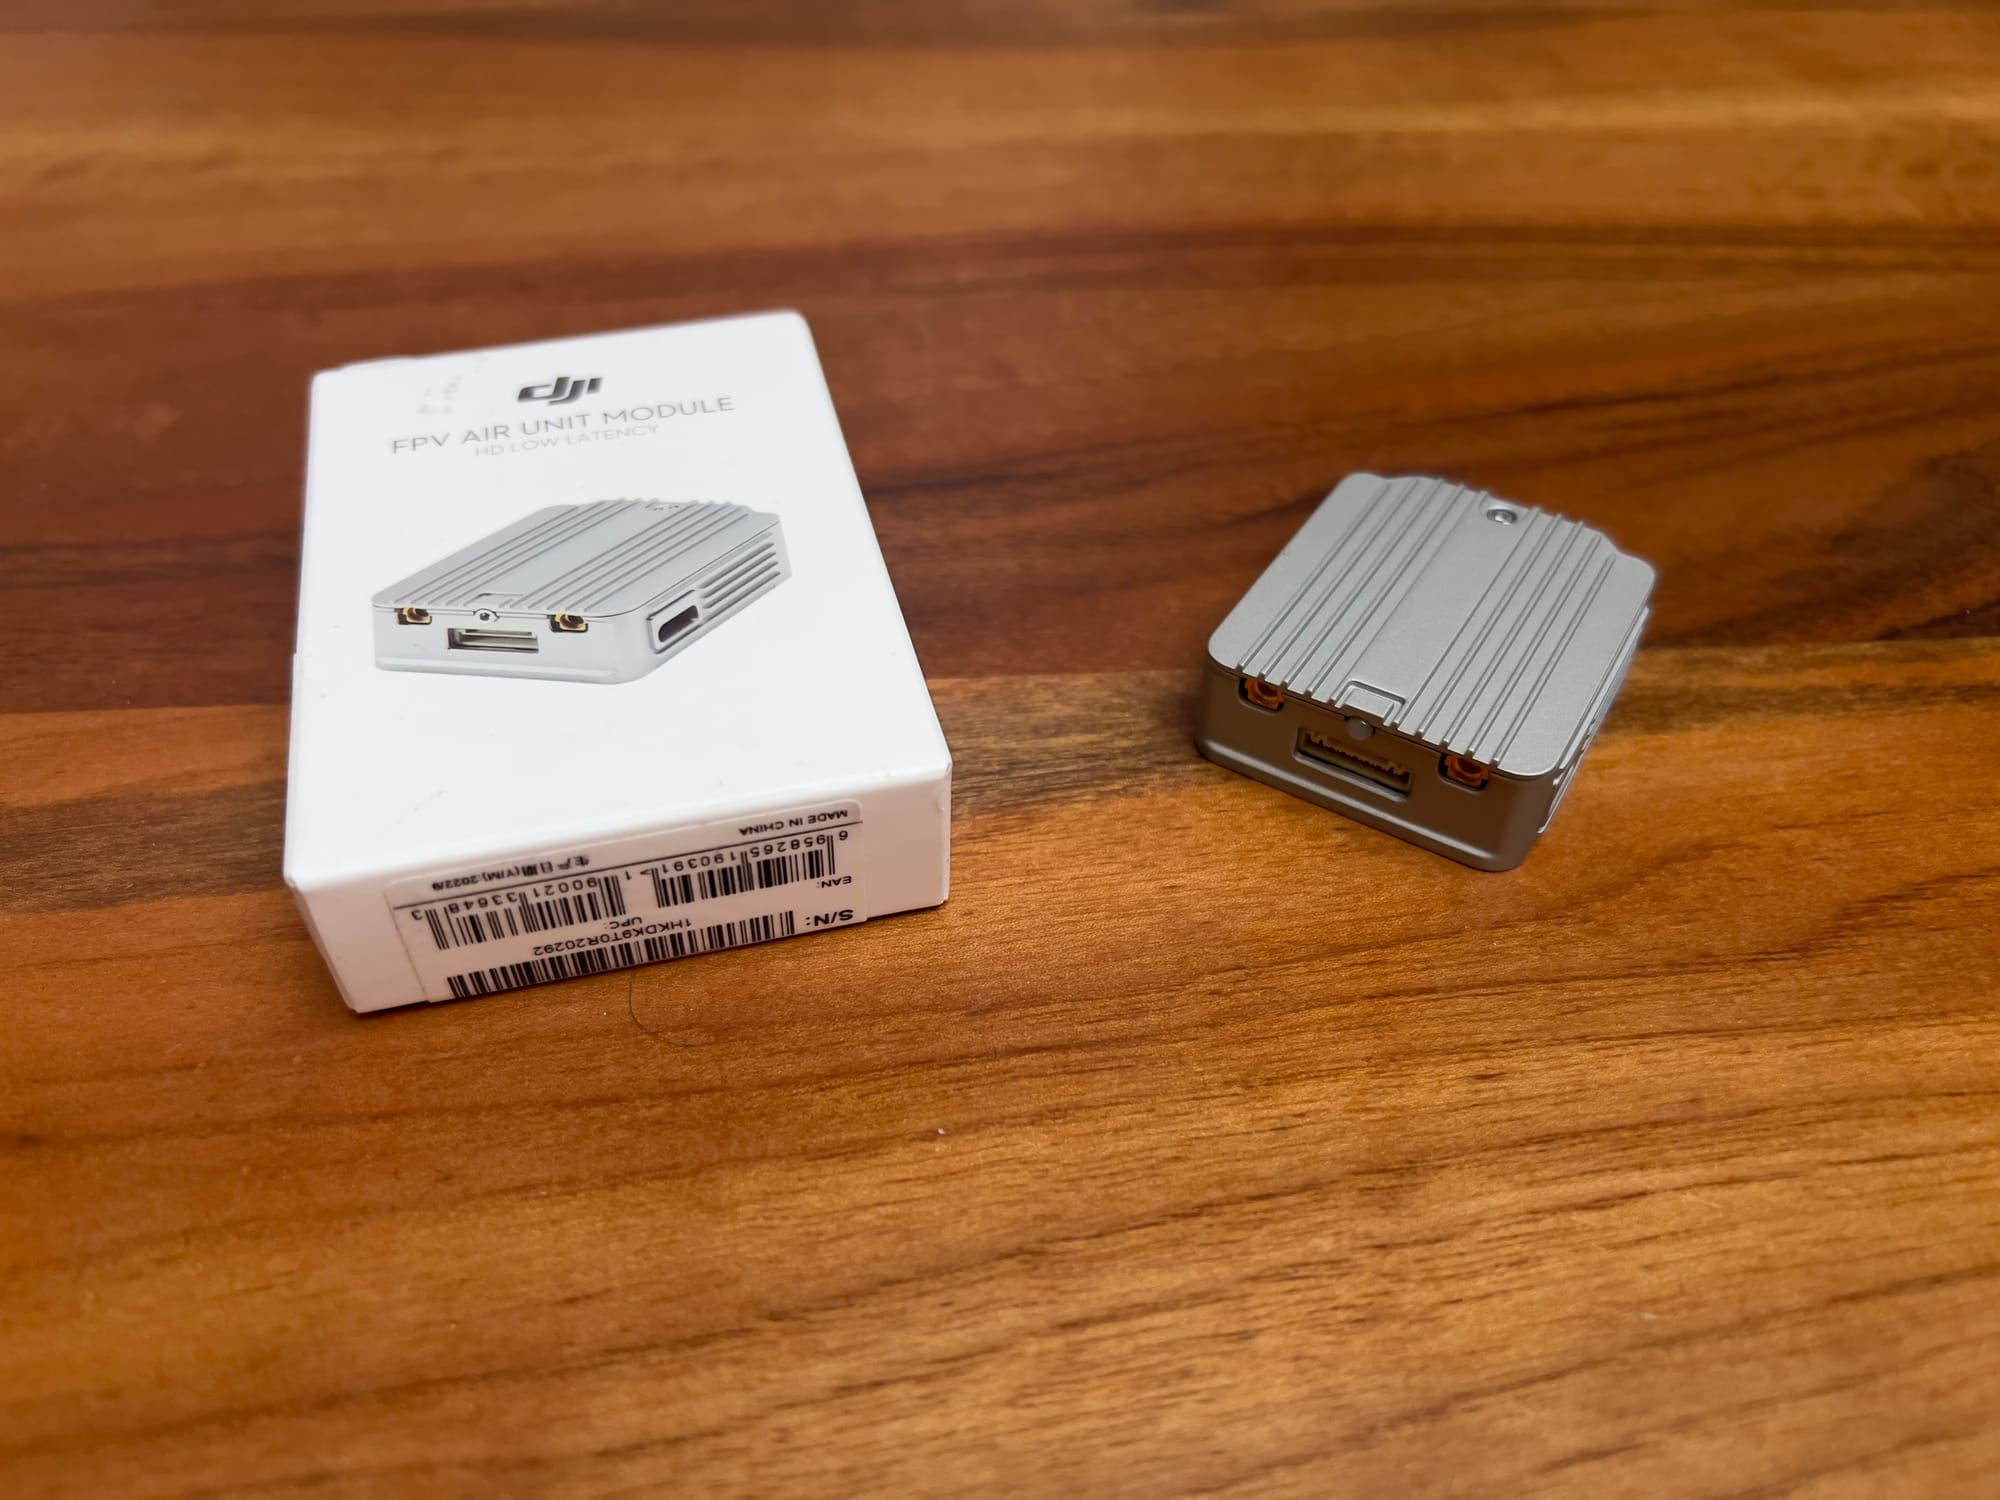
For cinematic flying, nothing beats the DJI image quality. I've captured footage with a GoPro that perfectly matches what I saw in my goggles, making it much easier to frame shots while flying.
HDZero (Formerly SharkByte)
HDZero offers a hybrid approach, with digital transmission but analog-like characteristics in terms of latency and signal degradation.
Key Features:
- 720p/1080p video options
- Very low latency (16-24ms)
- Gradual signal degradation similar to analog
- More open ecosystem with multiple manufacturer support
- Firmware updates adding new features regularly
Components:
- HDZero VTX (various models with different power options)
- HDZero Receiver Module (fits in analog-style goggles)
- HDZero Goggles
- Compatible cameras (various options)
Best For:
- Racing pilots wanting digital quality with analog-like latency
- Pilots with existing analog goggles (can use receiver module)
- Those wanting a middle ground between analog and full digital
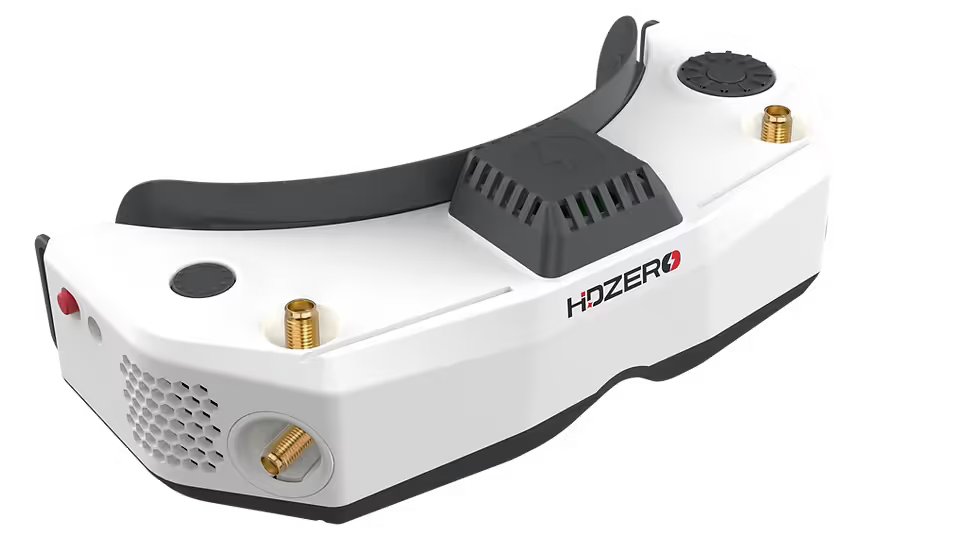
I was initially skeptical about HDZero, but after testing it extensively for racing, I've become a convert for certain applications. The latency is noticeably better than DJI or Walksnail in my side-by-side testing, and the gradual degradation of signal (rather than sudden dropouts) makes it feel more like flying analog but with a cleaner image.
I've found the VTX units run quite hot, requiring good airflow in your builds. The image quality, while digital, isn't as crisp as DJI—but the tradeoff in lower latency makes it my preferred digital choice for racing applications.
Walksnail Avatar System
A newer entrant to the digital FPV market, the Walksnail Avatar system has quickly gained popularity.
Key Features:
- 1080p video transmission
- Competitive latency (25-35ms)
- Good range performance
- Integrated DVR recording
- Growing ecosystem with expanding compatibility
Components:
- Avatar VTX (various models)
- Avatar Goggles
- Compatible cameras
Best For:
- Pilots looking for an alternative to DJI
- Those wanting good image quality with reasonable latency
- Pilots interested in an evolving ecosystem
I've been testing the Walksnail system since its early releases, and it's been fascinating to watch it evolve through firmware updates. Early versions had significant issues with link stability and image breakup, but recent updates have dramatically improved performance.
In my testing, Walksnail offers image quality close to DJI with slightly better latency. The range isn't quite as good as DJI in identical conditions, but it's still impressive—I've maintained solid links at 5-7km in open areas. One advantage I've found is that Walksnail seems to recover from signal loss more quickly than DJI when flying behind obstacles.
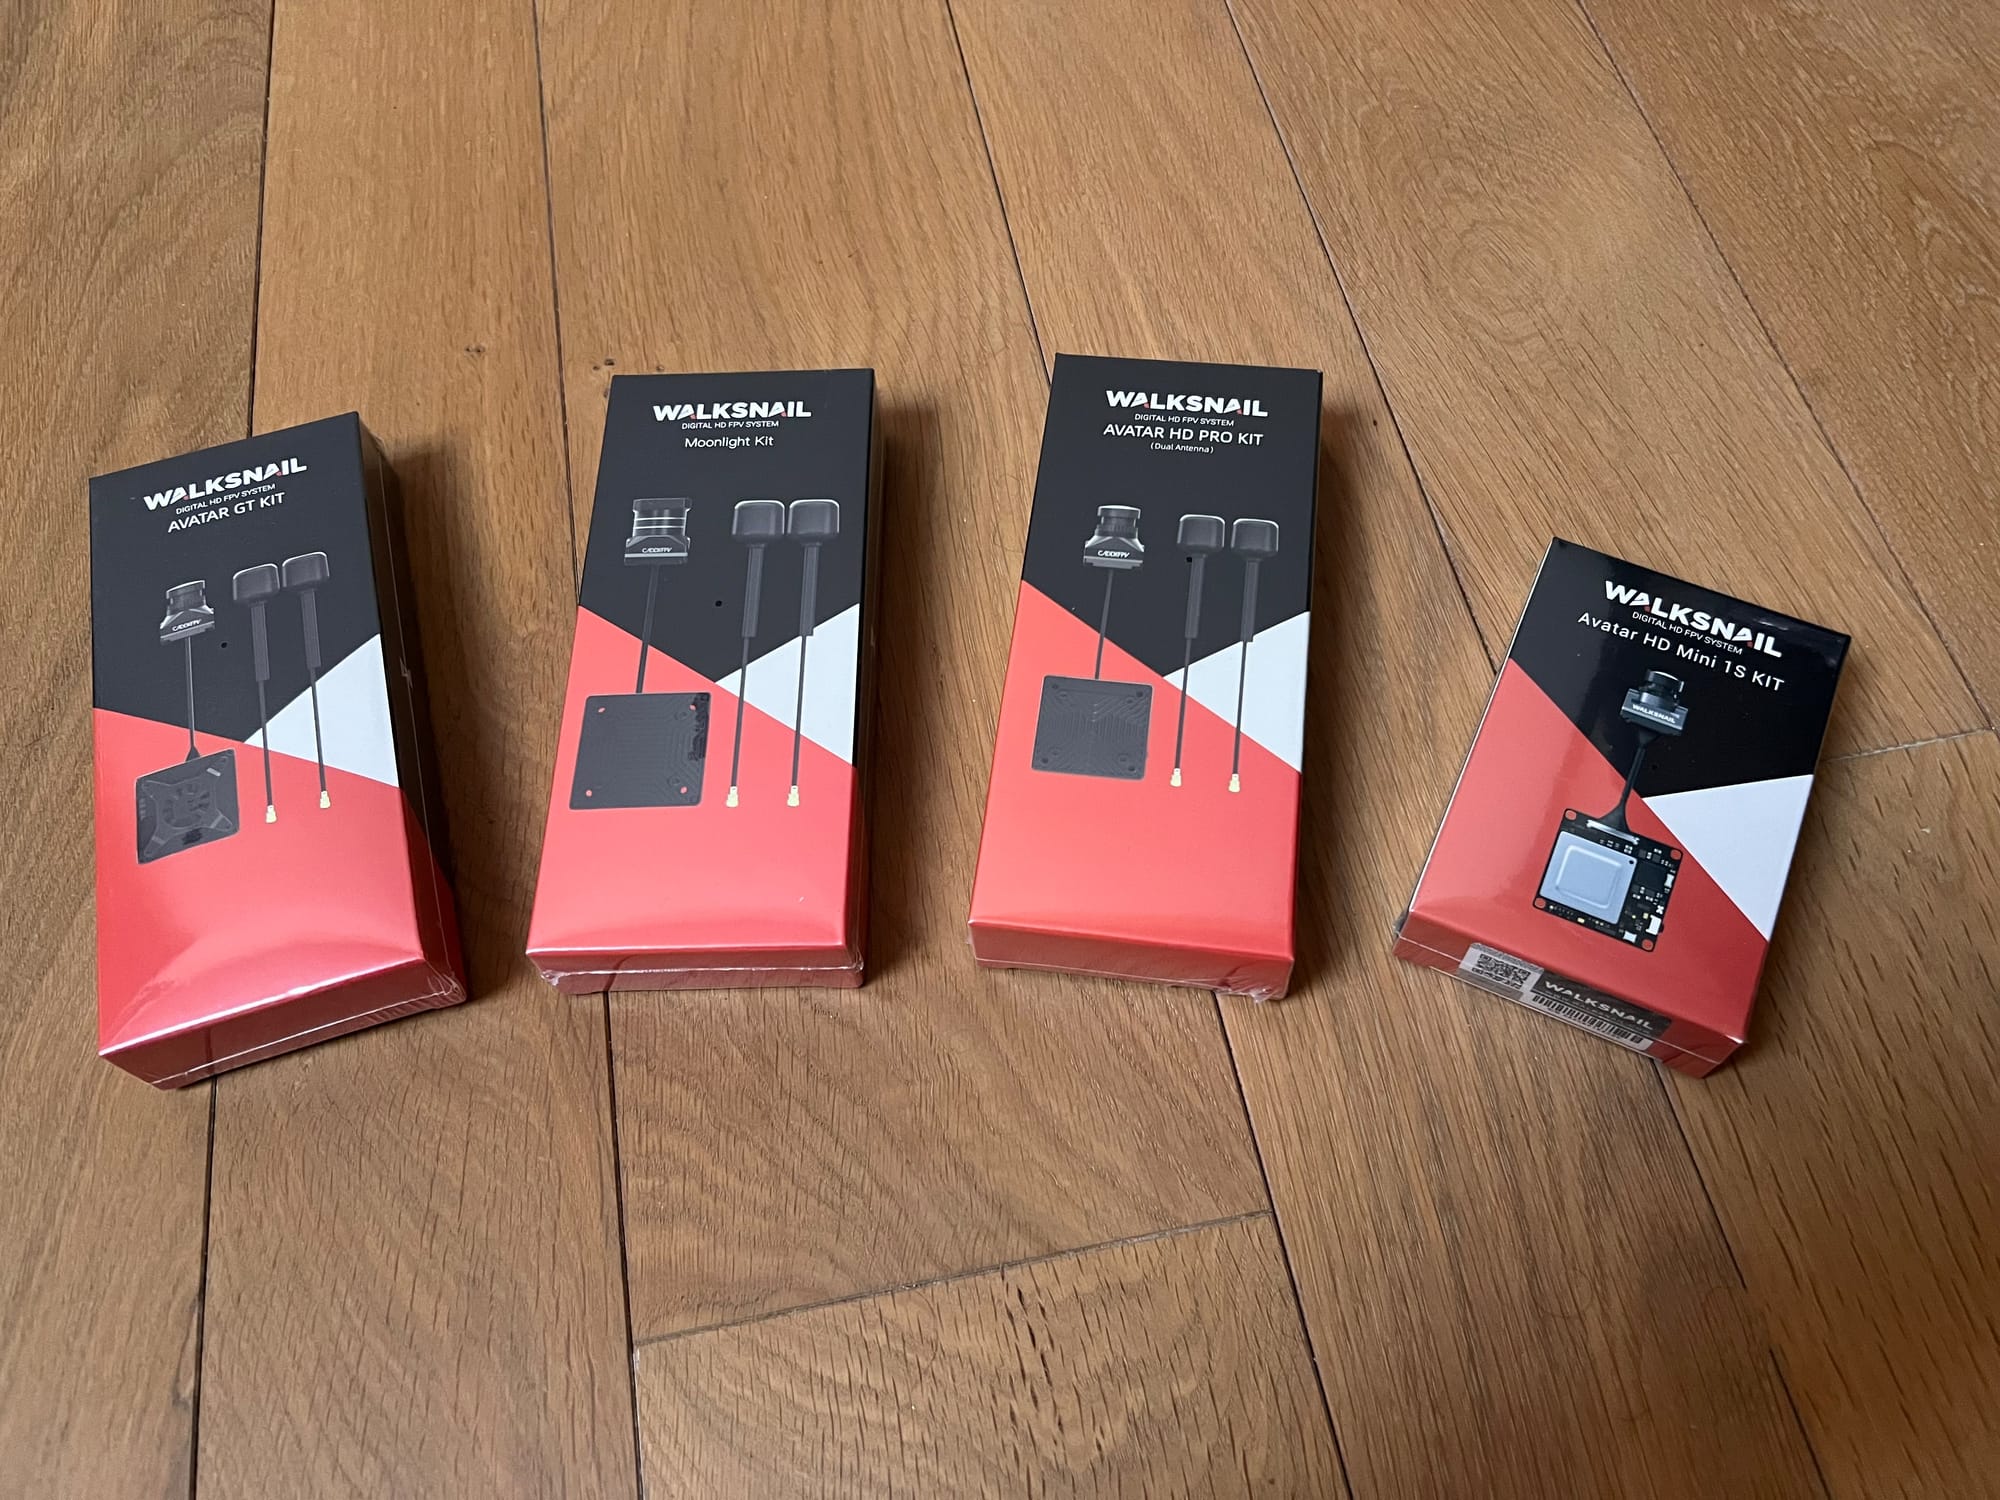
The ecosystem is still developing, but it's becoming a viable alternative to DJI, especially for pilots who prefer a more open system with more hardware options.
Analog FPV System Components
Analog systems offer more flexibility to mix and match components from different manufacturers. Here's a breakdown of the key components based on my years of testing various combinations:
Analog FPV Cameras
Analog cameras vary in performance characteristics and price points:
Key Specifications:
- TVL (TV Lines): Measure of resolution, typically 600-1200 TVL
- Sensor Size: Typically 1/3" or 1/2"
- Minimum Illumination: Ability to perform in low light
- Latency: Internal processing delay
- Voltage Range: Operating voltage (usually 5-40V)
Popular Cameras:
- RunCam Phoenix 2 (good all-rounder)
- Foxeer Predator (low latency)
- Caddx Ratel (good dynamic range)
I've tested dozens of analog cameras over the years, and the differences can be substantial. For racing, I exclusively use low-latency cameras like the Foxeer Predator, where I've measured end-to-end latency as low as 16ms. For freestyle, I prefer cameras with better dynamic range like the Caddx Ratel, which handles transitions between bright and dark areas much better.
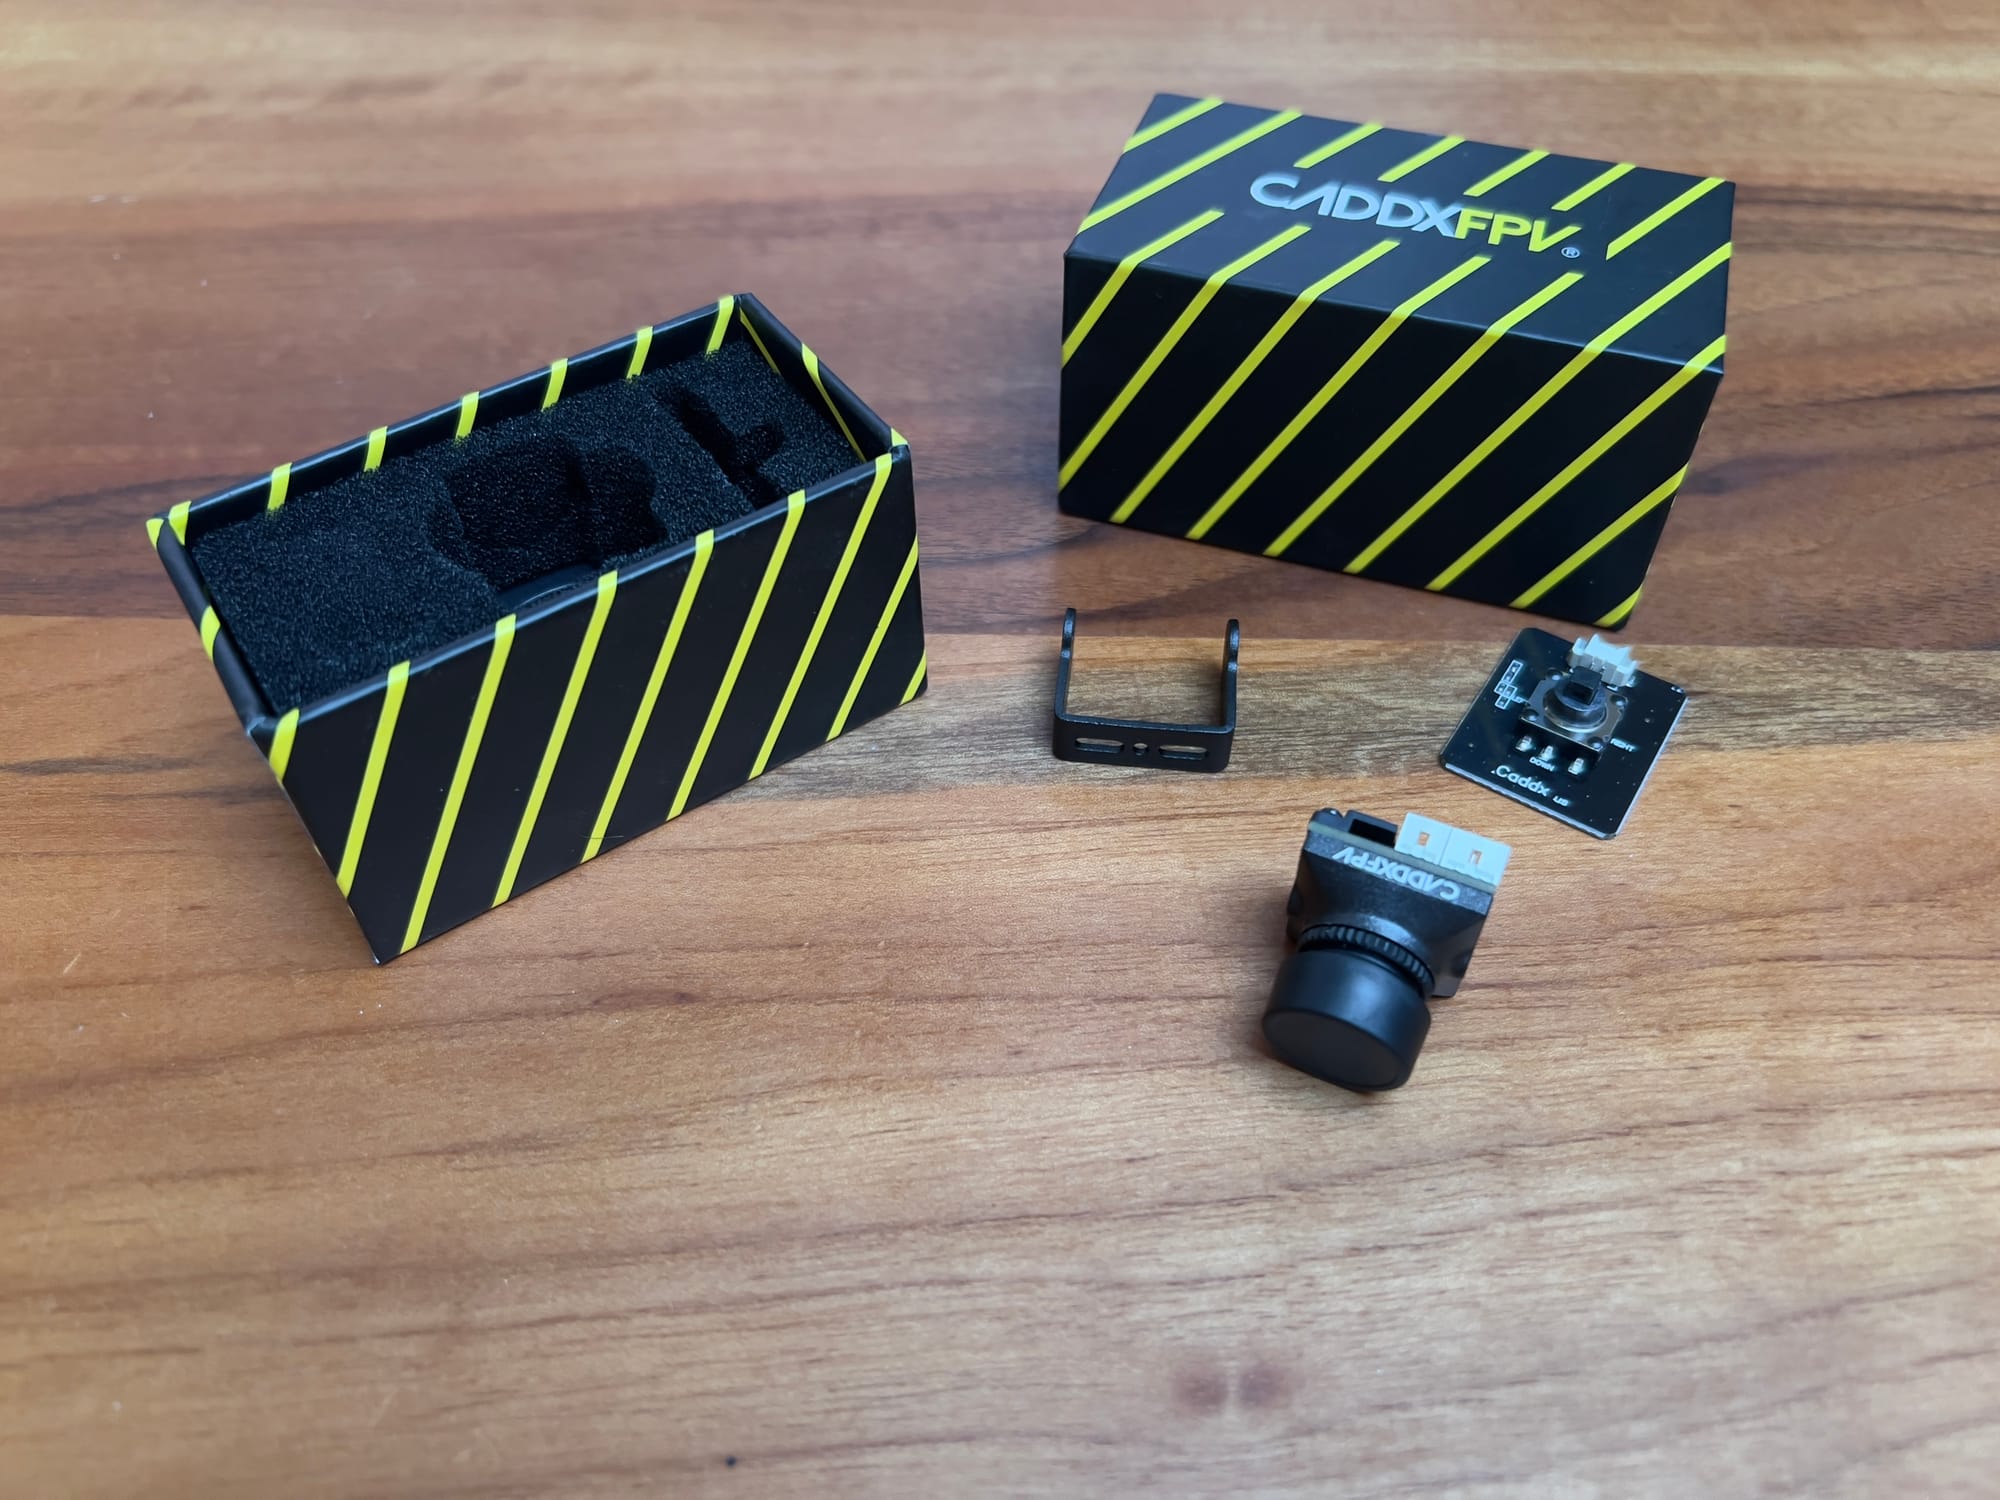
One lesson I learned the hard way: cheap cameras often have poor voltage regulation. I burned out three budget cameras before realizing they couldn't handle the voltage spikes from my 6S battery, despite claiming 6S compatibility. Quality matters, especially for components directly connected to your battery.
Analog Video Transmitters (VTX)
VTXs come in various form factors and power levels:
Key Specifications:
- Output Power: Typically 25mW to 1000mW (1W)
- Frequency Bands: 5.8GHz is standard, with various channel options
- Smart Audio/Tramp Protocol: For remote configuration
- Size and Weight: Important for smaller builds
- Cooling Requirements: Higher power units need better cooling
Popular VTXs:
- TBS Unify Pro32 (reliable, widely used)
- Rush Tank (high power options)
- AKK (budget-friendly options)
After trying numerous VTXs, I've settled on the TBS Unify Pro for most of my builds due to its reliability and clean output signal. However, I've found that proper installation matters more than brand in many cases. A budget VTX with good filtering capacitors and proper cooling will outperform an expensive VTX that's poorly installed.
For long-range flying, I use a Rush Tank Ultimate with adjustable power up to 1W. The extra power makes a significant difference when pushing distance, but the heat generation is substantial—I've melted 3D printed parts by mounting them too close to high-power VTXs!
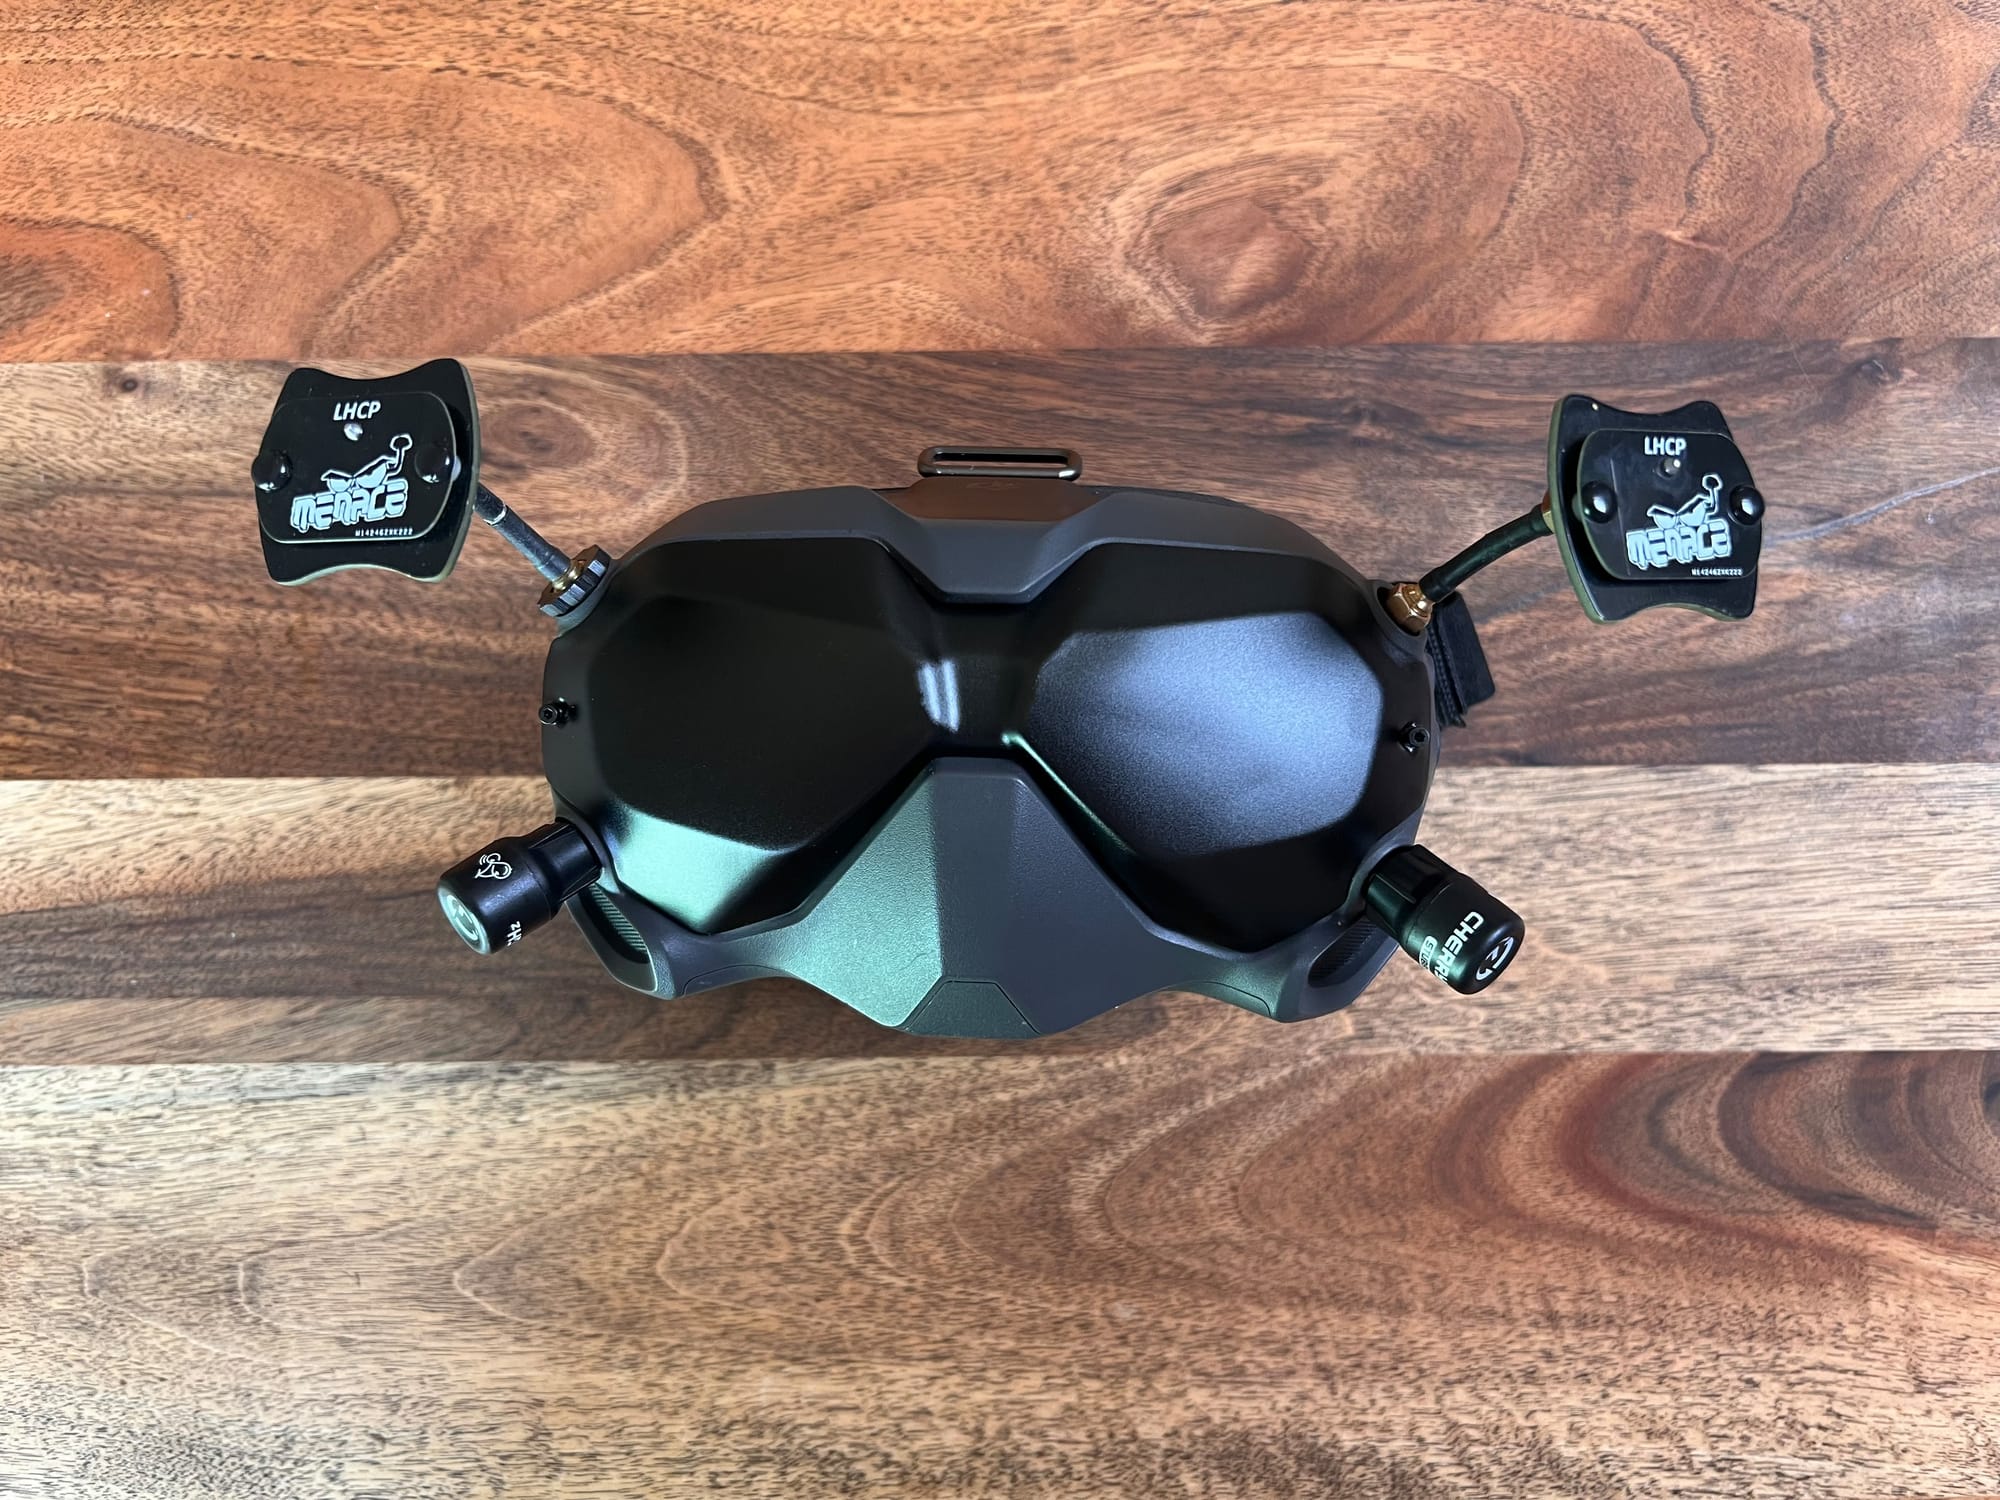
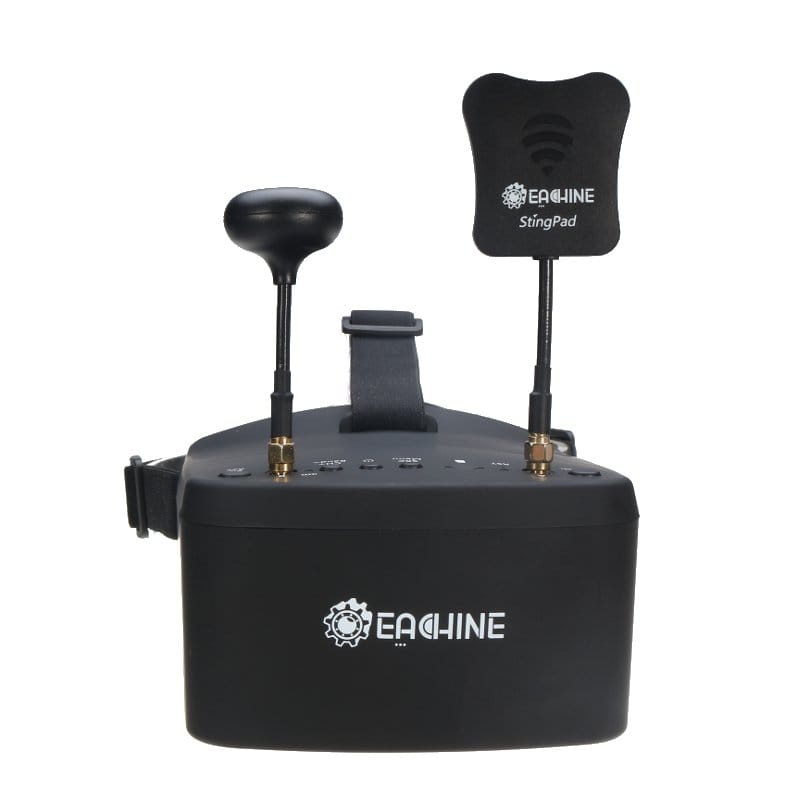
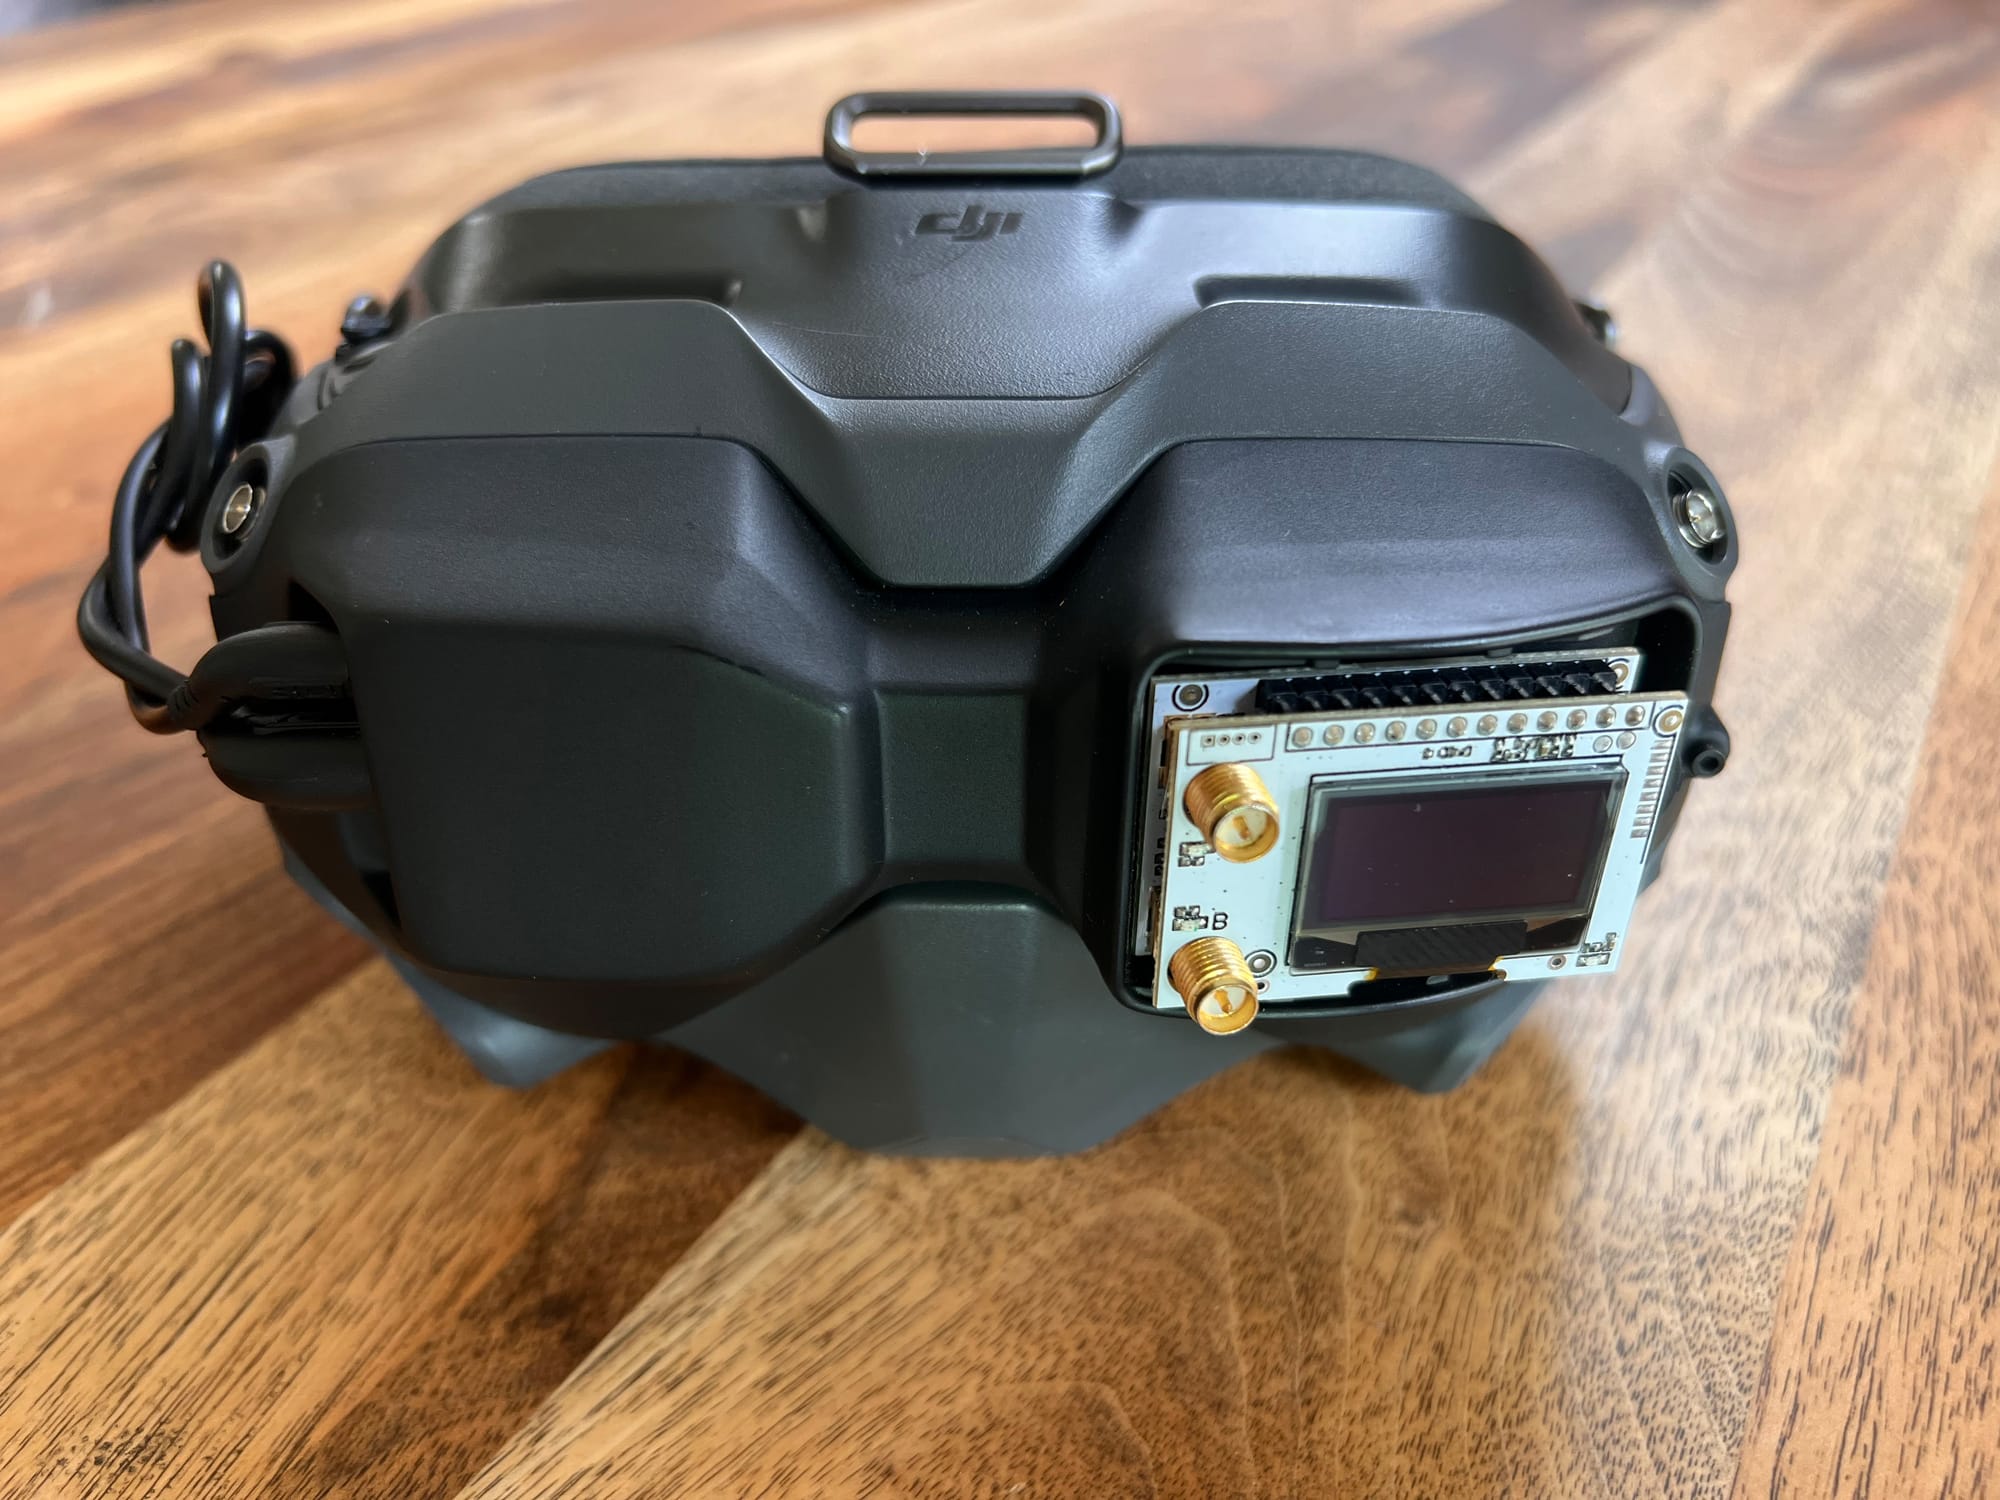
Analog FPV Goggles and Receivers
Analog goggles range from basic to feature-rich:
Key Specifications:
- Receiver Type: Diversity vs. single receiver
- Display Resolution: Affects image clarity
- Field of View (FOV): Immersion factor
- DVR Capability: For recording flights
- Module Bay: For upgradeability
Popular Goggles:
- Fat Shark Attitude V6 (mid-range option)
- Skyzone Sky04X (feature-rich)
- Eachine EV800D (budget box goggles)
For new pilots on a budget, I recommend starting with box goggles but investing in a quality diversity receiver. When you upgrade to better goggles later, you can often reuse the receiver module, making it a worthwhile investment.
On my case, I started my journey into the world of analog FPV systems with an analog receiver connected to goggles via an adapter - a good choice if you already have a compatible system.
Antennas
Antenna selection significantly impacts video performance:
Types:
- Omnidirectional: Equal reception in all directions (e.g., pagoda, cloverleaf)
- Directional: Better range in specific direction (e.g., patch, helical)
- Polarization: RHCP (right-hand circular polarized) or LHCP (left-hand)
Considerations:
- Use matching polarization on transmitter and receiver
- Diversity setups often use one omni and one directional antenna
- Quality matters—budget antennas often underperform
Antennas are the most underrated component in an FPV system. I've seen a $15 antenna upgrade double the effective range of a system. For my long-range builds, I use a TrueRC X-Air on the drone and a combination of a TrueRC Singularity (omni) and a VAS 8-turn helical (directional) on my goggles.
One mistake I made early on was using mismatched polarisation—I had RHCP on my drone but LHCP on my goggles. The signal was terrible until an experienced pilot pointed out my error. Always match your polarisation!
For more detailed information on VTX antennas, see:
Overview of FPV Antennas
Choosing Between Analog and Digital
The right choice depends on your priorities, budget, and flying style. After years of flying both systems, here's my practical advice:
Consider Analog If:
- You're on a tight budget: Lower initial investment
- You prioritize latency: Critical for racing and high-speed freestyle
- You fly in groups: Easier frequency management with established protocols
- You value repairability: Individual components are cheaper to replace
- You enjoy tinkering: More DIY-friendly with mix-and-match components
Consider Digital If:
- You prioritize image quality: HD resolution makes a significant difference
- You fly long range: Better maximum range in open areas
- You do cinematic flying: Cleaner image for capturing beautiful footage
- You value user experience: Less interference and cleaner overall experience
- You're willing to invest: Higher upfront cost for better experience
After helping dozens of pilots make this decision, I typically recommend starting with analog if you're new to the hobby or on a tight budget. The lower cost of entry and replacement parts makes the inevitable learning crashes less painful financially. Once you've developed your skills and have a better understanding of your flying style preferences, you can make a more informed decision about upgrading to digital.
For experienced pilots, I recommend choosing based on your primary flying style:
- For racing: Stick with analog or consider HDZero
- For freestyle: Either system works well, with digital offering better visual experience
- For long-range: Digital systems generally provide better range and clarity
- For cinematic: Digital is significantly better for capturing beautiful footage
Hybrid Approaches
Some pilots opt for hybrid setups to get the best of both worlds:
- Dual-system builds: Some pilots install both analog and digital systems on one drone
- Mixed fleet: Different drones for different purposes (digital for cinematic, analog for racing)
- HDZero as middle ground: Digital video with more analog-like characteristics
I maintain both analog and digital drones in my fleet for different purposes. My racing quads are all analog for the lowest possible latency. My freestyle and long-range builds are mostly digital for the superior image quality. This approach gives me the best of both worlds without compromise.
I've also built several "hybrid" drones with both analog and digital systems onboard, switchable via a remote control channel. This approach works well but adds weight and complexity. I recommend it only for specific use cases like flying at events where you might need to switch between systems.
Advanced Considerations
For experienced pilots looking to optimize their video systems, these advanced concepts provide deeper insights from my years of testing and experimentation.
Frequency Management and Interference
Understanding how to manage frequencies can significantly improve your video experience:
- Frequency Bands: 5.8GHz is standard, but specific bands (A, B, E, F, R, etc.) have different legal status in various countries
- Channel Separation: Maintaining adequate separation between pilots' frequencies
- Power Management: Using only as much power as needed reduces interference for everyone
- IMD (Intermodulation Distortion): When multiple transmitters create interference on channels where no one is transmitting
At a major race event, I witnessed complete video failure for multiple pilots due to poor frequency management. We solved the issue by implementing a proper frequency plan with adequate channel separation and power control. I now use a frequency analyzer before every group flying session to identify the cleanest channels available.
I've also found that IMD is a real problem in group flying scenarios. When flying with 6+ pilots, we often see interference on channels that nobody is using due to intermodulation effects. Digital systems are much less susceptible to this issue in my experience.
Video Signal Optimization
Fine-tuning your video system for optimal performance:
- Camera Settings: Adjusting WDR, saturation, sharpness for different conditions
- VTX Filtering: Using capacitors and filters to clean up power to the VTX
- Antenna Placement: Keeping antennas away from carbon fiber and other sources of interference
- Ground Station Setup: Using diversity receivers with optimized antenna combinations
I've found that proper power filtering makes a dramatic difference in analog video quality. On every build, I add a low-ESR capacitor (470-1000μF) as close as possible to the VTX power input. This simple modification has eliminated the rolling horizontal lines that plagued my early builds.
For antenna placement, I learned through trial and error that even a few millimeters of separation from carbon fiber makes a significant difference. I now use 3D printed antenna mounts that position my antennas at least 10mm away from any carbon fiber parts, which has noticeably improved my video quality and range.
Digital System Bitrates and Quality Settings
Digital systems offer various quality settings that balance image quality, latency, and range:
- Higher Bitrates: Better image quality but potentially higher latency and reduced range
- Lower Bitrates: Extended range and potentially lower latency at the cost of image quality
- Fixed vs. Variable Bitrate: How the system adapts to changing conditions
- Error Correction Levels: More robust transmission at the cost of increased latency
With my DJI system, I've experimented extensively with different quality settings. For most flying, I use the "High Quality" mode, which provides excellent image quality with acceptable latency. However, when flying long range, I switch to "Focus" mode, which prioritizes a stable connection over maximum image quality.
I've found that the DJI system's automatic bitrate adjustment works well in most scenarios, but in areas with significant RF interference, manually setting a lower bitrate can provide a more stable connection. This is particularly important when flying in urban environments with lots of WiFi networks.
Future-Proofing Your Investment
The FPV technology landscape continues to evolve rapidly:
- Modular Systems: Investing in goggles with module bays allows upgrading receivers without replacing the entire unit
- Firmware Upgradability: Systems with active development may improve over time
- Ecosystem Considerations: Some manufacturers build closed ecosystems, while others embrace compatibility
- Resale Value: Some brands and systems retain value better than others
I've found that modular systems provide the best long-term value. My Fat Shark goggles have accepted multiple receiver module upgrades over the years, allowing me to improve performance without replacing the entire unit. Similarly, my Skyzone goggles with an HDZero module give me the flexibility to use either analog or digital systems.
For digital systems, firmware support matters tremendously. My early DJI Air Units have received numerous firmware updates that improved performance, added features, and fixed bugs. When choosing a digital system, I now consider the manufacturer's track record with firmware support as a critical factor.
Practical Setup and Optimisation Tips
These practical tips can help you get the most from your chosen FPV system, based on my years of building and flying.
Analog System Optimization
- Use Quality Antennas: Perhaps the most cost-effective upgrade for any analog system
- Add Capacitors: A low-ESR capacitor (e.g., 470μF) near the VTX power input can reduce noise
- Proper Camera Settings: Adjust camera settings for current lighting conditions
- Frequency Scanner: Use a scanner to find clear channels before flying
- VTX Mounting: Keep the VTX away from heat sources and with adequate airflow
On my analog race quads, I've found that proper power filtering is essential for clean video. I use a combination of a large electrolytic capacitor (470-1000μF) near the battery leads and smaller ceramic capacitors (100-220μF) near noise-generating components like ESCs. This setup virtually eliminates video noise from motor and ESC operation.
For VTX mounting, I learned the hard way that heat is the enemy. After burning out two expensive VTXs, I now ensure adequate airflow around all my video transmitters, particularly high-power ones. On builds where space is tight, I've added small heat sinks to VTXs with thermal adhesive, which has prevented overheating issues.
Digital System Optimization
- Antenna Placement: Keep antennas clear of carbon fiber and other obstructions
- Firmware Updates: Keep all components updated with the latest firmware
- Quality Settings: Adjust bitrate and quality settings based on your flying environment
- Power Management: Use appropriate power levels for your flying distance
- Cooling Considerations: Ensure adequate cooling for digital components that generate more heat
With my DJI systems, I've found that antenna placement is even more critical than with analog. The DJI antennas seem particularly sensitive to proximity to carbon fiber and power components. I always use antenna mounts that position the antennas as far from the frame as practical, which has significantly improved range and stability.
Firmware updates have dramatically improved my digital systems over time. My original DJI Air Units perform much better now than when I first purchased them, thanks to numerous firmware improvements. I make it a habit to check for updates before any significant flying session.
Troubleshooting Common Issues
Analog Issues:
- Rolling Horizontal Lines: Often caused by power supply noise
- Static or Snow: Weak signal or interference
- Blue Screen: Complete signal loss
- Jittery Image: Potential camera or power issues
For rolling horizontal lines, I've had nearly 100% success rate fixing this by adding a low-ESR capacitor (470-1000μF) as close as possible to the VTX power input. For persistent issues, I add additional filtering capacitors near the camera and ESCs.
For static and snow, I first check all antenna connections and ensure they're secure. If the problem persists, I try different channels to find one with less interference. In group flying scenarios, coordinating frequencies with other pilots is essential.
Digital Issues:
- Pixelation: Signal degradation approaching threshold
- Frozen Image: Signal quality dropped below usable threshold
- Artifacting: Digital compression issues
- Connection Failures: Pairing or initialization problems
For DJI connection issues, I've found that the initialization sequence matters. I always power on my goggles first, then the drone. This sequence has proven more reliable than the reverse order.
For pixelation and artifacting, adjusting quality settings often helps. In challenging RF environments, I switch to lower quality modes that prioritize connection stability over image quality. This approach has saved several flights in areas with high interference.
The Future of FPV Video Systems
The FPV video landscape continues to evolve rapidly, with several trends shaping its future:
Convergence of Technologies
- Decreasing Digital Latency: Digital systems approaching analog latency levels
- Improved Analog Resolution: Enhanced analog systems pushing resolution boundaries
- Hybrid Systems: Combining strengths of both technologies
Based on the rapid development I've witnessed, I believe we'll see digital systems reach analog-like latency levels within the next 2-3 years. HDZero has already made significant progress in this direction. Simultaneously, analog systems will continue to improve in resolution and clarity, though they'll likely never match true HD digital systems.
The most exciting development I anticipate is true hybrid systems that combine the best aspects of both technologies—digital clarity with analog-like signal degradation and ultra-low latency. Several manufacturers are working on such systems, and they could represent the future of FPV video.
Emerging Technologies
- AI-Enhanced Video: Using artificial intelligence to improve image quality and reduce latency
- Alternative Frequencies: Exploration of 2.4GHz and 6GHz bands for video transmission
- Integration with Control Links: Combined video and control systems for simplified setups
I've been testing early versions of AI-enhanced video processing that can dramatically improve image quality in challenging conditions. These systems use machine learning to reduce noise, enhance details, and even predict missing frames in cases of signal loss. While still in early stages, the results are promising and could represent the next major leap in FPV video technology.
Regulatory Considerations
- Frequency Regulations: Changing international rules affecting available frequencies
- Power Limitations: Legal restrictions on transmission power
- Standardization Efforts: Industry moves toward common standards
Regulatory changes have already impacted the hobby significantly. In Europe, restrictions on certain 5.8GHz bands have forced manufacturers to adapt their frequency offerings. I expect this trend to continue, with more standardization across regions but also potentially more restrictions on power and frequency usage.
For pilots, staying informed about local regulations is increasingly important. I've started maintaining a document with frequency and power regulations for each country I visit, which has helped me avoid potential legal issues when traveling with my FPV gear.
FAQ: Common Questions About FPV Video Systems
Is digital FPV worth the extra cost?
In my experience, for most types of flying beyond racing, yes. The improved image quality and cleaner signal of digital systems justify the investment, especially for cinematic flying or long-range exploration. However, if you're primarily focused on racing or flying on a tight budget, analog systems still offer excellent performance at a lower price point.
I started with analog and upgraded to digital after about a year in the hobby. The transition was eye-opening—suddenly I could see details that were just blurry shapes before. For freestyle and cinematic flying, this clarity transformed my experience.
Can I use my analog goggles with digital systems?
It depends on the digital system. HDZero offers receiver modules that work with analog goggles that have module bays. DJI and Walksnail systems generally require their specific goggles, though some third-party options are emerging.
I use HDZero with my Skyzone goggles via their receiver module, which works well. For DJI, I had to purchase their dedicated goggles—there was no way to use my existing analog goggles with their system.
What's the best digital system for racing?
Based on my extensive testing, HDZero currently offers the lowest latency among digital systems, making it the preferred choice for digital racing. Its gradual signal degradation also behaves more like analog, which many racers prefer.
I've raced with both HDZero and analog systems, and while I still prefer analog for competitive racing due to the absolute lowest latency, HDZero comes close enough that the improved image quality makes it a compelling option for many racers.
How much range can I expect from analog vs. digital?
In open areas with line of sight, based on my personal testing:
- Basic analog setups: 0.5-1km
- Optimized analog with directional antennas: 2-5km
- Digital systems (DJI/Walksnail): 5-13km
- Digital with range extensions: 10-20km+
Actual range varies significantly based on environment, obstacles, interference, and system configuration. I've found that real-world performance often falls short of theoretical maximums. For example, my DJI system that can reach 10km in rural areas might only manage 2-3km in a dense urban environment due to interference from other RF sources.
Can I legally increase the power of my video transmitter?
Regulations vary by country, but many regions limit amateur video transmitters to 25mW or 100mW without special licenses. Always check your local regulations before increasing transmitter power, as violations can result in significant fines.
I've learned to work within legal power limits by optimizing my antenna setup rather than pushing transmitter power beyond legal limits. A quality antenna setup at legal power often outperforms a poor antenna setup at higher power, with the added benefit of staying on the right side of the law.
Do digital systems work better in urban environments?
Generally yes. I've found digital systems handle multipath interference (signal reflections from buildings) much better than analog systems. They also maintain a clearer image until the signal drops out completely, whereas analog signals may become unusable due to interference before reaching maximum range.
In my testing around city environments, my DJI system consistently outperforms my analog setups, even when the analog is running higher power. The digital signal processing seems to be much more effective at filtering out the noise and interference that's prevalent in urban areas.
How do I choose the right antennas?
For best results based on my extensive testing:
- Match polarization between transmitter and receiver antennas
- Use omnidirectional antennas for general flying
- Add directional antennas on diversity receivers for extended range
- Invest in quality antennas from reputable manufacturers
- Consider antenna gain characteristics for your specific flying style
I've found that antenna quality matters tremendously. I once replaced a $5 "bargain" antenna with a $25 quality antenna from a reputable manufacturer and nearly doubled my effective range with no other changes to my setup.
Will analog FPV eventually disappear?
While digital systems continue to gain popularity, I believe analog FPV is likely to remain relevant for years to come due to its low cost, minimal latency, and established ecosystem. Many pilots, including myself, maintain both systems for different types of flying.
The racing scene in particular continues to favor analog for its ultra-low latency. Until digital systems can match analog's 15-20ms latency without compromises, there will always be a place for analog in competitive racing.
Conclusion
The choice between analog and digital FPV systems represents a balance of priorities, preferences, and budget considerations. While digital systems offer superior image quality and cleaner overall experience, analog systems maintain advantages in latency, cost, and flexibility.
As the technology continues to evolve, the gap between these systems is narrowing, with digital latency decreasing and analog image quality improving. For many pilots, including myself, the ideal approach is to gain experience with both technologies, either through separate builds or hybrid setups.
Ultimately, both analog and digital systems can provide an incredible flying experience. The "right" choice depends on your specific needs, flying style, and how you prioritize factors like image quality, latency, range, and cost. Whichever path you choose, the immersive experience of FPV flight remains one of the most exciting aspects of the hobby.
Comments ()